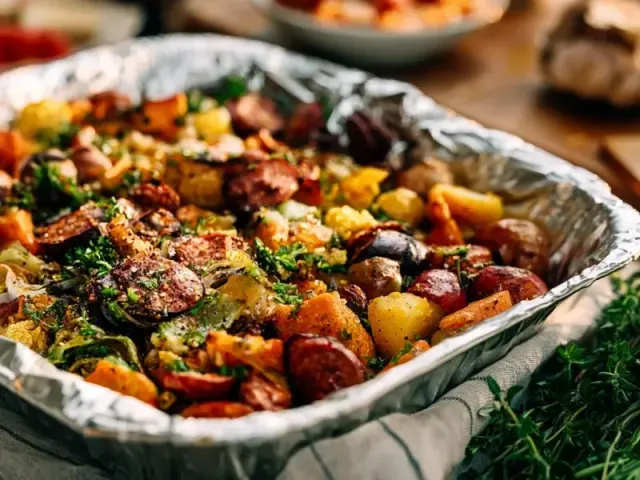
Cozy Gluten Free Make Ahead Camping Dinner: One-Pot Chili
The first thing you notice at the campsite when the air turns cool is the quiet. Then the smell of chili starts to drift from the pot. Not just any chili — one you made at home, packed without a fridge, and now it’s bubbling over the camp stove. The aroma of smoked paprika and cumin cuts through the pine scent. This is cozy, and it’s gluten free.

I keep the ratio at 2 parts beans to 1 part meat for a balanced texture that reheats well without turning mushy. The key is to cook it thick at home — thin chili turns watery when reheated. You want a deep red-brown color and a spoon that stands up in the pot.
Why This Chili Works for Make-Ahead, No-Fridge Camping
This meal follows my core method: prepare fully at home, cool completely, pack in a sealed pouch, keep cold in a cooler, then reheat at camp. No refrigeration needed once you leave. The chili is dense enough that it stays safe for up to 24 hours when kept below 40°F (4°C). I use heavy-duty foil pouches — double-layer if you have it — because they’re lightweight, pack flat, and conduct heat evenly on a campfire grate or stove.
Choosing Your Protein
Ground beef is classic, but plant-based crumbles work just as well. For keto, skip the beans and double the meat, adding diced zucchini for bulk. For vegan, use crumbles or extra beans. The technique stays the same: brown the protein first, then build the flavor with spices before adding liquids.
The Exact Method for a Cozy Gluten Free Make Ahead Camping Dinner
At Home: Build the Chili
Start with a large pot or Dutch oven over medium heat. Add olive oil, then onion and bell pepper. Cook until they soften — about 5 minutes. The sizzle should be steady, not violent. Add garlic for one minute until fragrant. Then add your protein. Break it up with a wooden spoon until browned, about 6-8 minutes. Drain excess fat if you used beef.
Now the spices: chili powder, cumin, smoked paprika, salt, and pepper. Stir for one minute. This step is crucial — toasting the spices in the fat releases their oils and deepens the flavor. You’ll smell it immediately.
Add the diced tomatoes with their juice, tomato paste, drained beans, and water or broth. Stir well. Bring to a boil, then drop to a low simmer. Cook uncovered for 20 minutes. Stir occasionally. You’re looking for the chili to thicken — the liquid should reduce by about a third. A common mistake is to undercook it. If it’s still soupy after 20 minutes, give it five more. The final texture should be hearty, not runny.
Cool and Pack
Let the chili cool completely in the pot. This takes about 30 minutes. Do not rush it — hot chili in a sealed pouch creates condensation, which breeds bacteria. Once cool, portion into heavy-duty foil pouches or silicone bags. Press out as much air as possible before sealing. Lay them flat in a cooler with a frozen ice pack. They’ll stay cold for up to 24 hours if the cooler is well-packed and kept in the shade.
At Camp: Reheat and Serve
Set up your camp stove or campfire. If using a campfire, let the flames die down to hot coals. Place the foil pouch directly on the grate or on the coals. Cook for 5-7 minutes per side, flipping once with tongs. If using a pot, empty the pouch into the pot and heat over medium flame, stirring occasionally, until it reaches 165°F (74°C) — use a thermometer if you have one. Steam will rise, and the chili will bubble. Open pouches carefully — steam burns.
Serve in bowls. Add toppings like shredded cheese, sliced jalapeños, or avocado if you brought them in the cooler. The chili itself is gluten free, dairy free (without cheese), and nut free. Check labels on canned goods for hidden gluten — some broths and tomato pastes contain wheat starch.
Food Safety Notes for This Meal
Keep the chili below 40°F in the cooler until you reheat. Do not leave it in the danger zone (40-140°F) for more than two hours. Reheat to 165°F. If you’re hiking in and won’t have a cooler, this meal isn’t suitable — it requires cold storage. For a no-cooler option, try dehydrated chili mix (add boiling water at camp).
Adapting for Different Heat Sources
Camp stove: Use a medium flame. Stir frequently to prevent sticking. Add a splash of water if it’s too thick. Campfire grate: Use hot coals, not flames. Flip the pouch once. Cast iron Dutch oven: Place directly on coals, lid on, for 10 minutes, stirring once. No heat source? Eat it cold — it’s safe and still flavorful, like a chilled bean salad.
Takeaway
This chili is the definition of a cozy gluten free make ahead camping dinner. It’s packed with flavor, safe without refrigeration, and reheats beautifully. The technique — thick cook, full cool, sealed cold — works for any hearty stew or soup. Try it with sweet potatoes or ground turkey next time. Your campsite will smell like home.
Frequently Asked Questions
How do I keep chili safe without a fridge at camp?
Cook and cool the chili completely at home, then seal in a heavy-duty foil pouch or silicone bag. Pack it in a cooler with a frozen ice pack. Keep the cooler in the shade and avoid opening it frequently. Reheat to an internal temperature of 165°F before eating. This method keeps chili safe for up to 24 hours.
Can I make this chili vegan?
Yes. Substitute the ground beef with plant-based crumbles or an extra can of beans (like pinto beans). Use vegetable broth instead of water. The chili will still be hearty and gluten free. Check labels on broth and canned goods for gluten.
What if I don't have a camp stove or fire?
You can reheat the chili in a pot on a portable camp stove, or if you have no heat source, enjoy it cold — it's safe as long as it stayed below 40°F in the cooler. Cold chili with toppings like avocado and cheese can be surprisingly satisfying.